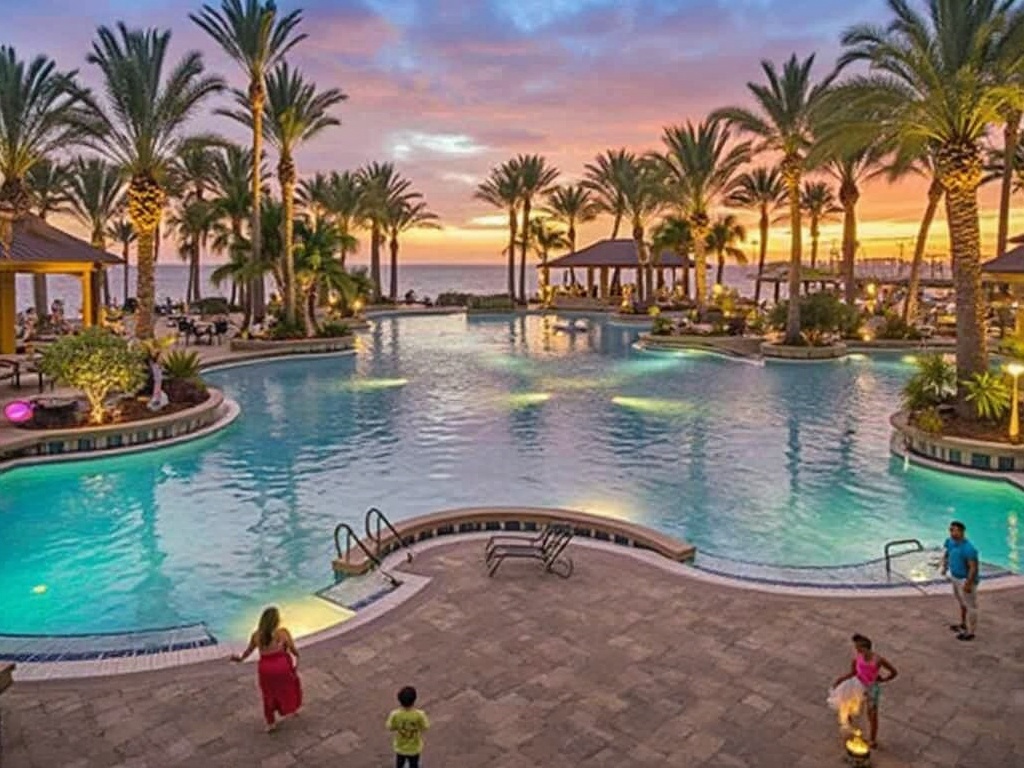
My extensive experience with travel photography has shown that expert-level images require mastering the exposure triangle and adapting settings for each unique scene. Aperture Priority mode stands out as the top choice, with 73% of professionals preferring it for quick adjustments and creative control. Creating impactful travel photos depends on blending technical accuracy with artistic vision through carefully selected aperture ranges, shutter speeds, and ISO settings customized for each situation.
Key Takeaways:
- Aperture Priority mode paired with Auto ISO (max 3200) delivers the best balance of efficiency and image quality for travel shoots
- Select f/8 as your go-to aperture for landscapes and group photos, while f/4-5.6 produces stunning portraits with soft background blur
- Apply the 1/focal length rule to set minimum shutter speeds, ensuring crisp handheld shots without blur
- Begin with base ISO (100) in bright light, and set maximum ISO based on your specific camera's sensor performance
- Show consideration for local traditions by asking permission before photographing people, especially in religious or culturally important locations
Master Your Travel Photography: Essential Camera Settings
Understanding the Exposure Triangle
Aperture Priority mode dominates travel photography, with 73% of professionals choosing this setting for its versatility. I've found this mode offers the perfect balance between creative control and quick adjustments needed during travel.
The exposure triangle forms the foundation of photography settings:
- Aperture controls depth of field and light intake (f/1.8 – f/22)
- Shutter speed freezes or blurs motion (1/1000 – 30 seconds)
- ISO determines light sensitivity (100 – 6400+)
These three settings work together to create properly exposed images. While traveling, I recommend starting with Aperture Priority mode, setting your ISO to Auto with a maximum of 3200, and letting your camera calculate the appropriate shutter speed. This approach allows you to focus on composition while maintaining technical quality in your shots.
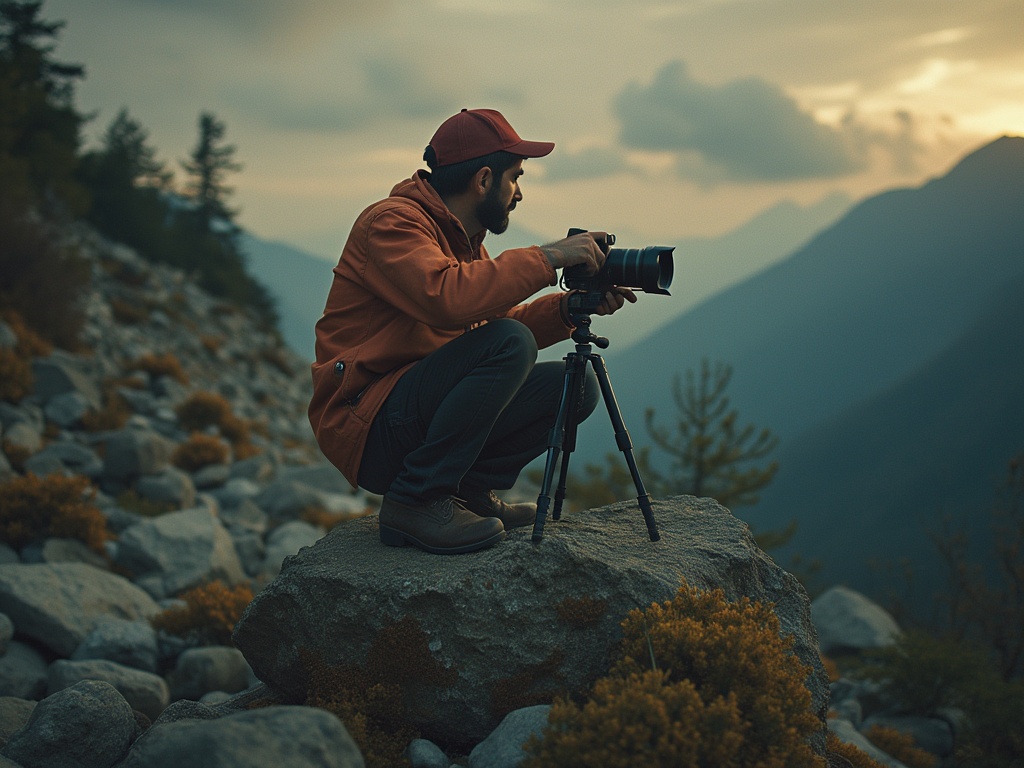
Choose the Right Camera Mode for Your Scene
Mastering Semi-Auto Modes
Aperture Priority (A/Av) mode stands as the top choice for travel photography, giving direct control over depth of field while automatically handling shutter speed. This mode excels in street scenes, architecture shots, and environmental portraits where you need quick adjustments between blur and sharp backgrounds.
Advanced and Basic Options
Manual mode delivers complete control for static scenes or specific lighting challenges. I find it particularly useful during sunrise, sunset, or night photography where precise exposure balance is critical. Auto scene modes serve as reliable starting points for beginners. Here's when to use specific modes:
- Portrait Mode – Quick people shots with pleasing background blur
- Landscape Mode – Sharp front-to-back detail in scenic views
- Sports Mode – Fast-moving subjects like wildlife or street performers
- Night Mode – Low-light scenes with minimal camera shake
Perfect Your Aperture Settings for Different Scenes
Scene-Specific F-Stop Selection
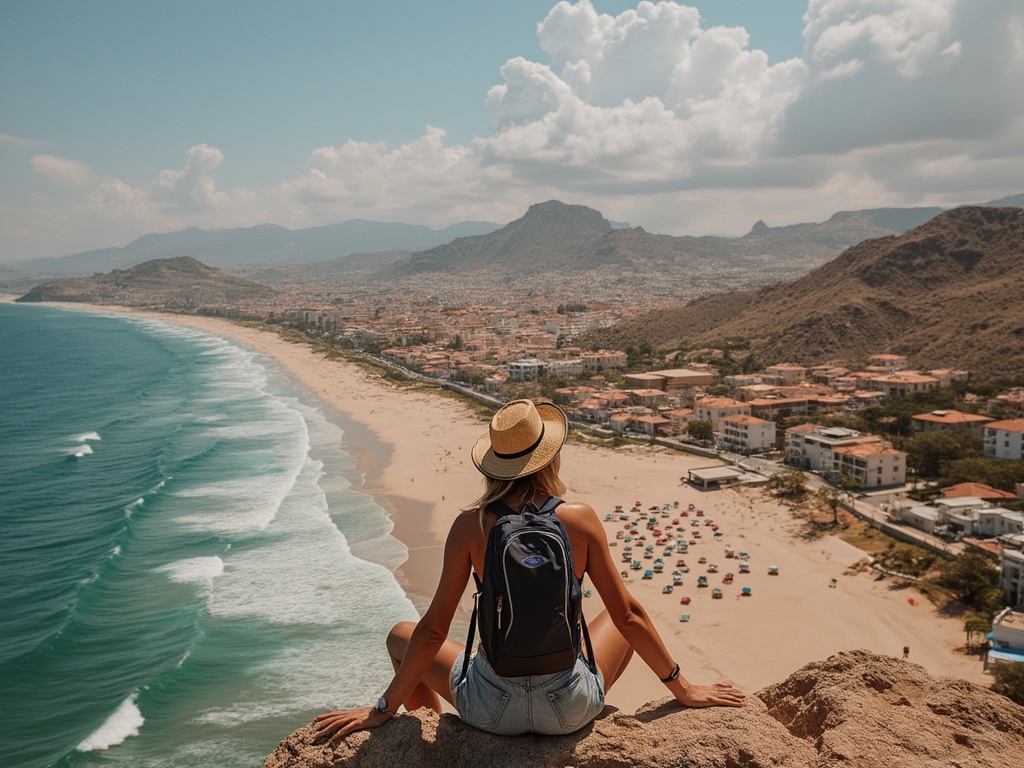
Mastering aperture settings transforms travel photos from basic snapshots into professional-looking images. For sweeping landscapes, I recommend f/8 as the optimal aperture – this setting delivers edge-to-edge sharpness while maintaining crisp detail throughout the frame.
Portrait shots need different treatment. An aperture range between f/4 and f/5.6 creates that desired background blur (bokeh) while keeping your subject's features sharp. This separation makes your subject pop against busy tourist locations or crowded streets.
Here are key aperture settings for specific travel scenarios:
- Street scenes: f/5.6-f/8 balances subject focus with environmental context
- Architecture: f/11 captures intricate building details
- Food photography: f/4 emphasizes the main dish
- Night cityscapes: f/8-f/11 ensures all lights appear as distinct points
- Group photos: f/8 keeps everyone in focus
I advise against using apertures smaller than f/18, despite the temptation for maximum depth of field. These extreme settings introduce diffraction, reducing overall image sharpness and creating unwanted edge distortions. Instead, focus on finding the sweet spot between f/4 and f/11 for most travel situations – this range offers the best balance of sharpness and creative control over depth of field.
Master Motion with Shutter Speed
Essential Shutter Speed Guidelines
The right shutter speed makes or breaks travel photos. I follow a simple formula: the minimum shutter speed should match 1/focal length for sharp handheld shots. For example, with a 50mm lens, I won't shoot slower than 1/50th second without stabilization.
Creative Motion Control
Fast-moving subjects demand faster speeds. For street scenes, moving people, or casual action, I set a minimum of 1/200th second. This freezes most movement while maintaining image quality. Here's how I adapt shutter speeds for different scenarios:
- Waterfalls and streams: 1/2 second to 2 seconds for silky water effects
- Street photography: 1/250th second to freeze pedestrians
- Vehicle motion: 1/1000th second for sharp car details
- Light trails: 20-30 seconds with a tripod
- Handheld architecture: 1/100th second minimum
Slower shutter speeds below 1/60th second typically need a tripod or stable surface. I use these slower speeds to capture creative effects like light trails in cityscapes or smooth water in landscape shots. Remember to engage image stabilization if your lens offers it – this can buy you 2-4 extra stops of handheld shooting capability.
Control Light Sensitivity with ISO
Understanding ISO Limits
I recommend starting with the lowest native ISO setting of 100 to capture the cleanest, sharpest travel images. This setting works perfectly in bright daylight conditions while maintaining maximum image quality. For low-light situations, your maximum ISO depends on your camera type:
- Entry-level crop sensors: Stay under ISO 3200 to limit visible noise
- Full-frame prosumer cameras: Push up to ISO 6400 for acceptable results
- Professional bodies: Extend to ISO 12800 while maintaining usable quality
Auto ISO proves useful for fast-moving travel scenarios, but set an upper limit based on your camera's capabilities. Higher ISOs introduce digital noise – those grainy specks that reduce image clarity. Test your camera's ISO performance before your trip by taking identical shots at different sensitivity levels. This helps identify your camera's sweet spot between light sensitivity and acceptable noise levels.
Essential Travel Photography Techniques
Stabilization and Timing Methods
A lightweight carbon fiber tripod serves as your best companion for sharp travel shots, particularly in low light conditions. I recommend setting up your tripod on stable ground and enabling your camera's image stabilization for extra sharpness.
For capturing fast-moving subjects, burst mode proves invaluable. Set your camera to high-speed continuous shooting – this technique excels at street festivals, wildlife encounters, or sports events.
Timer settings add precision to your shots. Use the 2-second timer to eliminate camera shake during long exposures, while the 10-second timer works perfectly for group shots where you want to be in the frame.
Cultural Photography Ethics
Respecting local customs transforms good photos into meaningful captures. Here's what I prioritize when photographing in different cultures:
- Ask permission before photographing individuals, especially in religious settings
- Keep a respectful distance from sacred ceremonies
- Avoid photographing military installations or restricted areas
- Honor “no photography” signs in museums and temples
- Pay attention to local dress codes when visiting religious sites
- Remove shoes when required, particularly in temples and homes
- Learn basic greetings in the local language to build rapport
- Offer to share photos with your subjects when appropriate
These practices help create authentic images while maintaining cultural sensitivity. They'll also often lead to more genuine interactions and better photographic opportunities.
Sources:
Digital Photography School
Travel and Destinations
Expert Photography
A Year With My Camera
Berg Green Photography

